
Deploy Rok Disk Manager
This section will guide you through deploying Rok Disk Manager (RDM).
Fast Forward
If you have already deployed the Rok Disk Manager, expand this box to fast-forward.
Go to your GitOps repository, inside your
rok-toolsmanagement environment:root@rok-tools:~# cd ~/ops/deploymentsSave your state:
root@rok-tools:~/ops/deployments# rok-j2 deploy/env.rdm.j2 -o deploy/env.rdmCommit your changes:
root@rok-tools:~/ops/deployments# git commit -am "Deploy Rok Disk Manager"Proceed to the Verify section.
Choose one of the following options to deploy Rok:
- Option 1: Deploy Rok Disk Manager Automatically (preferred).
- Option 2: Deploy Rok Disk Manager Manually.
Overview
What You’ll Need
- A configured management environment.
- Your clone of the Arrikto GitOps repository.
- An existing Kubernetes cluster.
- A Rok version that supports the kernel of your Kubernetes nodes.
Option 1: Deploy Rok Disk Manager Automatically (preferred)
Choose one of the following options, based on your platform.
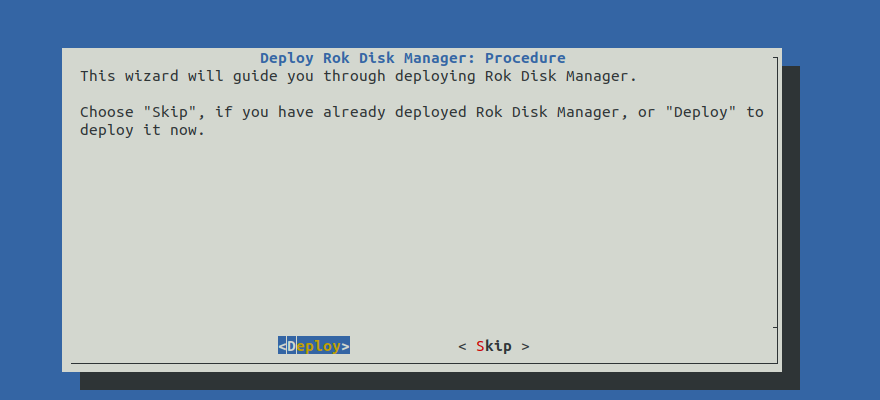
Deploy Rok Disk Manager by following the on-screen instructions on the
rok-deploy user interface.
If rok-deploy is not already running, start it with:
Proceed to the Summary section.
Option 2: Deploy Rok Disk Manager Manually
If you want to deploy Rok Disk Manager manually, follow the instructions below.
Procedure
Go to your GitOps repository, inside your
rok-toolsmanagement environment:root@rok-tools:~# cd ~/ops/deploymentsCreate the Rok namespaces,
rokandrok-system, that will host Rok and its system components:root@rok-tools:~/ops/deployments# rok-deploy --apply rok/rok-namespaces/overlays/deployEdit the kustomization manifest. Choose one of the following options, based on your platform:
Edit
rok/rok-disk-manager/overlays/deploy/kustomization.yamlto use theeksoverlay as base:bases: - ../eksEdit
rok/rok-disk-manager/overlays/deploy/kustomization.yamlto use theaksoverlay as base:bases: - ../aksEdit
rok/rok-disk-manager/overlays/deploy/kustomization.yamlto use thegkeoverlay as base:bases: - ../gkeSpecify the
disk-scriptto use. Choose one of the following options based on which disks you want to use for Rok.Follow these steps if you know the IDs of the available disks:
Edit
rok/rok-disk-manager/overlays/on-prem/disksand specify all available devices across all nodes. Use one by-id persistent name per line, for example:/dev/disk/by-id/nvme-SAMSUNG_MZ1LB1T9HALS-00007_S436NA0N305221 /dev/disk/by-id/scsi-3600605b00a317e701f33cf1c30ff82c5Note
You can also use globs, for example
/dev/disk/by-id/nvme-SAMSUNG*.Store the list in an env var:
root@rok-tools:~/ops/deployments# export ROK_DISKS=$(xargs < rok/rok-disk-manager/overlays/on-prem/disks)Render the disk-script template to use your disks:
rook@rok-tools:~/ops/deployments# rok-j2 \ > rok/rok-disk-manager/overlays/on-prem/patches/configmap.yaml.j2 \ > -o rok/rok-disk-manager/overlays/on-prem/patches/configmap.yamlOptional
Edit
rok/rok-disk-manager/overlays/on-prem/patches/configmap.yamlto set the LV sizes for Rok and Local Path Provisioner based on your needs.
This section is a work in progress.
Edit
rok/rok-disk-manager/overlays/deploy/kustomization.yamlto use theon-premoverlay as base:bases: - ../on-prem
Save your state:
root@rok-tools:~/ops/deployments# rok-j2 deploy/env.rdm.j2 -o deploy/env.rdmCommit your changes:
root@rok-tools:~/ops/deployments# git commit -am "Deploy Rok Disk Manager"Deploy RDM:
root@rok-tools:~/ops/deployments# rok-deploy \ > --apply rok/rok-disk-manager/overlays/deployMark your progress:
root@rok-tools:~/ops/deployments# export DATE=$(date -u "+%Y-%m-%dT%H.%M.%SZ")root@rok-tools:~/ops/deployments# git tag \ > -a deploy/${DATE?}/develop/rdm \ > -m "Deploy Rok Disk Manager"
Verify
From inside your management environment, verify that the Rok Disk Manager Pods are up-and-running. Check the Pod status and verify that field STATUS is Running and field READY is 1/1 for all Pods:
root@rok-tools:~# kubectl -n rok-system get pods NAME READY STATUS RESTARTS AGE rok-disk-manager-tmwqz 1/1 Running 0 1m rok-disk-manager-c4w7n 1/1 Running 0 1mNote
The number of Pods you are seeing in the above output should be equal with the number of nodes you have in your cluster.