
Deploy Cluster Autoscaler
This section will guide you through deploying the Cluster Autoscaler on your EKS cluster.
Fast Forward
If you already have deployed the Cluster Autoscaler, expand this box to fast-forward.
Go to your GitOps repository, inside your
rok-toolsmanagement environment:root@rok-tools:~# cd ~/ops/deploymentsSave your state:
root@rok-tools:~/ops/deployments# rok-j2 deploy/env.autoscaler-eks-deploy.j2 \ > -o deploy/env.autoscaler-eks-deployCommit your changes:
root@rok-tools:~/ops/deployments# git commit -am "Deploy Cluster Autoscaler"Proceed to the Verify section.
See also
- Official EKS docs for Cluster Autoscaler.
Warning
Only use Cluster Autoscaler images provided by Arrikto for these manifests. Generic Cluster Autoscaler images are not compatible with these manifests.
Choose one of the following options to deploy the Cluster Autoscaler:
- Option 1: Deploy Cluster Autoscaler Automatically (preferred).
- Option 2: Deploy Cluster Autoscaler Manually.
Overview
What You’ll Need
- A configured management environment.
- Your clone of the Arrikto GitOps repository.
- An existing EKS cluster.
- An existing IAM role for the Cluster Autoscaler.
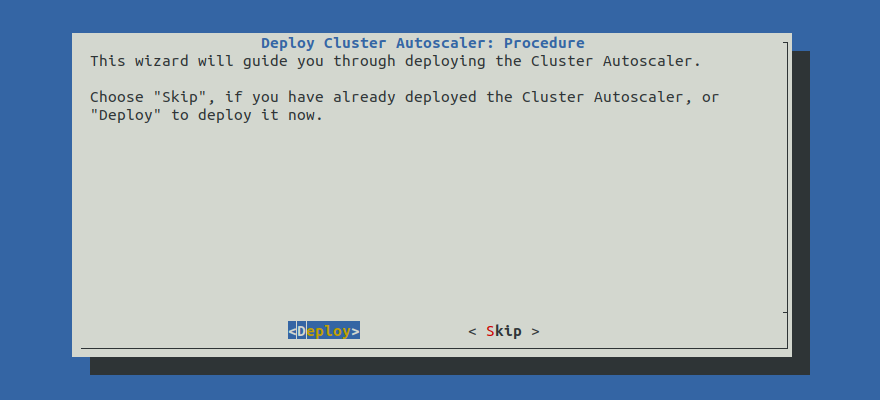
Option 1: Deploy Cluster Autoscaler Automatically (preferred)
Deploy the Cluster Autoscaler by following the on-screen instructions on the
rok-deploy user interface.
If rok-deploy is not already running, start it with:
Proceed to the Summary section.
Option 2: Deploy Cluster Autoscaler Manually
If you want to deploy the Cluster Autoscaler manually, follow the instructions below.
Procedure
Go to your GitOps repository, inside your
rok-toolsmanagement environment:root@rok-tools:~# cd ~/ops/deploymentsRestore the required context from previous sections:
root@rok-tools:~/ops/deployments# source <(cat deploy/env.{envvars-aws,\ > eks-cluster,autoscaler-eks-iam})root@rok-tools:~/ops/deployments# export EKS_CLUSTER AWS_ACCOUNT_ID AUTOSCALER_EKS_IAM_ROLEConfigure the
eksoverlay.Render the service account patch template:
root@rok-tools:~/ops/deployments# j2 \ > rok/cluster-autoscaler/overlays/eks/patches/sa.yaml.j2 \ > -o rok/cluster-autoscaler/overlays/eks/patches/sa.yamlRender the template with the deployment parameters:
root@rok-tools:~/ops/deployments# j2 \ > rok/cluster-autoscaler/overlays/eks/params.env.j2 \ > -o rok/cluster-autoscaler/overlays/eks/params.env
Configure the
deployoverlay.Set the platform to use:
root@rok-tools:~/ops/deployments# export PLATFORM=eksSpecify the Kubernetes version to use. Choose one of the following options, based on your Kubernetes version:
Set the Kubernetes cluster version to
1.24:root@rok-tools:~/ops/deployments# export CLUSTER_VERSION=1.24
Set the Kubernetes cluster version to
1.23:root@rok-tools:~/ops/deployments# export CLUSTER_VERSION=1.23
Set the Kubernetes cluster version to
1.22:root@rok-tools:~/ops/deployments# export CLUSTER_VERSION=1.22
Configure the
deployoverlay to use the desired platform overlay and components:root@rok-tools:~/ops/deployments# j2 \ > rok/cluster-autoscaler/overlays/deploy/kustomization.yaml.j2 \ > -o rok/cluster-autoscaler/overlays/deploy/kustomization.yamlAir Gapped
Patch the kustomization to use the mirrored images:
root@rok-tools:~/ops/deployments# rok-image-patch \ > --kustomizations rok/cluster-autoscaler/overlays/deployFollow the on-screen instructions and provide any necessary input.
Save your state:
root@rok-tools:~/ops/deployments# rok-j2 deploy/env.autoscaler-eks-deploy.j2 \ > -o deploy/env.autoscaler-eks-deployCommit your changes:
root@rok-tools:~/ops/deployments# git commit -am "Deploy Cluster Autoscaler"Apply the kustomization:
root@rok-tools:~/ops/deployments# rok-deploy --apply rok/cluster-autoscaler/overlays/deployMark your progress:
root@rok-tools:~/ops/deployments# export DATE=$(date -u "+%Y-%m-%dT%H.%M.%SZ")root@rok-tools:~/ops/deployments# git tag \ > -a deploy/${DATE?}/develop/autoscaler-eks-deploy \ > -m "Deploy Cluster Autoscaler"