
Deploy Rok Scheduler
This guide will walk you through deploying the Rok Scheduler, along with the Rok Scheduler Webhook.
Note
As of Kubernetes 1.21, the upstream kube-scheduler supports capacity
tracking, so that it takes into consideration the available free storage
capacity when scheduling a Pod that requests PVCs. However, the feature is in
beta version, and it comes with important limitations that need to be
addressed.
To overcome these limitations Rok ships with its own custom scheduler, which
supports storage capacity tracking for Kubernetes 1.19, 1.20, and 1.21. In
order for a Pod to be scheduled using the Rok Scheduler, the
.spec.schedulerName field of the Pod must be set to rok-scheduler.
We have automated this process by deploying the Rok Scheduler Webhook, which
watches for new Pods in specific namespaces and mutates them by adding the
aforementioned field.
Fast Forward
If you have already deployed the Rok Scheduler and the Rok Scheduler Webhook, expand this box to fast-forward.
- Proceed to the Verify section.
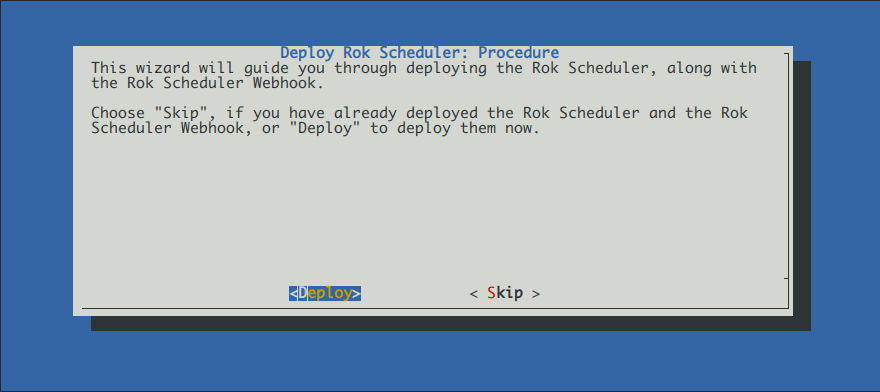
Choose one of the following options to deploy the Rok Scheduler, along with the Rok Scheduler Webhook:
Overview
What You’ll Need
- A configured management environment.
- Your clone of the Arrikto GitOps repository.
- An existing Kubernetes cluster.
- An existing Rok deployment.
- Access to Arrikto’s private container registry.
Option 1: Deploy Rok Scheduler Automatically (preferred)
Deploy the Rok Scheduler, along with the Rok Scheduler Webhook, by following the
on-screen instructions on the rok-deploy user interface.
If rok-deploy is not already running, start it with:
Proceed to the Summary section.
Option 2: Deploy Rok Scheduler Manually
If you want to deploy the Rok Scheduler and the Rok Scheduler Webhook manually, follow the instructions below.
Procedure
Go to your GitOps repository, inside your
rok-toolsmanagement environment:root@rok-tools:~# cd ~/ops/deploymentsAdd the Rok Scheduler overlay that corresponds to your Kubernetes version. Choose one of the following options, based on your Kubernetes version:
Edit
rok/rok-scheduler/overlays/deploy/kustomization.yamland usek8s-1.21instead ofbaseas the base overlay:resources: #- ../../base #- ../k8s-1.19 #- ../k8s-1.20 - ../k8s-1.21
Edit
rok/rok-scheduler/overlays/deploy/kustomization.yamland usek8s-1.20instead ofbaseas the base overlay:resources: #- ../../base #- ../k8s-1.19 - ../k8s-1.20 #- ../k8s-1.21
Edit
rok/rok-scheduler/overlays/deploy/kustomization.yamland usek8s-1.19instead ofbaseas the base overlay:resources: #- ../../base - ../k8s-1.19 #- ../k8s-1.20 #- ../k8s-1.21
Commit your changes:
root@rok-tools:~/ops/deployments# git commit -am "Deploy Rok Scheduler"Mark your progress:
root@rok-tools:~/ops/deployments# export DATE=$(date -u "+%Y-%m-%dT%H.%M.%SZ")root@rok-tools:~/ops/deployments# git tag \ > -a deploy/${DATE?}/release-1.5/rok-scheduler \ > -m "Deploy Rok Scheduler"Deploy the Rok Scheduler:
root@rok-tools:~/ops/deployments# rok-deploy --apply rok/rok-scheduler/overlays/deployDeploy the Rok Scheduler Webhook:
root@rok-tools:~/ops/deployments# rok-deploy --apply rok/rok-scheduler-webhook/overlays/deploy
Verify
Verify that the Rok Scheduler is up and running. Verify that field READY is 1/1:
root@rok-tools:~# kubectl get deploy -n rok-system rok-scheduler NAME READY AGE rok-scheduler 1/1 1mVerify that the Rok Scheduler Webhook is up and running. Verify that field READY is 1/1:
root@rok-tools:~# kubectl get deploy -n rok-system rok-scheduler-webhook NAME READY AGE rok-scheduler-webhook 1/1 1m