
Test Kubeflow
This guide will walk you through testing Kubeflow so as to ensure that all Kubeflow services are running as expected. To do so, you will run end-to-end data science workflows with Kale, a workflow tool that allows you to orchestrate Kubeflow pipelines, starting from a Jupyter notebook.
Fast Forward
If you have already tested Kubeflow’s functionality, expand this box to fast-forward.
- Proceed to the What’s Next section.
What You’ll Need
- A configured management environment.
- An existing Kubernetes cluster.
- An existing Kubeflow deployment.
Procedure
Expose Istio Ingress Gateway:
root@rok-tools:~# kubectl port-forward --address 0.0.0.0 \ > -n istio-system service/istio-ingressgateway 8080:80Forward traffic from your localhost to
rok-tools. Choose one of the following options based on how you created your management environment:user@workstation:~# kubectl port-forward services/rok-tools 8080:8080Skip to the next step.
Skip to the next step.
Visit the Kubeflow login page at http://127.0.0.1:8080.
Log in to the dashboard as
user@example.comwith the password you generated in the Set Up Users for Rok section.Verify you are redirected to the Kubeflow dashboard.
Create a Notebook to Pipeline experiment using Kale:
- Open a new tab in your browser and go to our Titanic tutorial.
- Follow the Run a Pipeline section of our Kale tutorial to run a pipeline from inside your notebook.
- Follow the Reproducibility with Volume Snapshots section to reproduce a pipeline step using volume snapshots, inspect its state, debug it and finally fix the code.
Note
Running the above workflow successfully validates that
- You can self-serve Jupyter Notebooks.
- Kale can communicate with Kubeflow and Rok.
- Kale can create Kubeflow pipelines.
- Rok can take snapshots of notebooks and pipeline steps.
- You can exploit Rok snapshots to recover a notebook.
Run a hyperparameter tuning experiment with Kale and Katib:
- Open a new tab in your browser and go to our Dog Breed tutorial.
- Follow the instructions in the Run a pipeline from inside your notebook section of our Dog Breed tutorial.
Note
Running this workflow successfully validates that
- Katib has been deployed successfully and works as expected.
- Kale can create and submit a Katib experiment.
- Repeatable pipeline steps can be cached, using Rok’s PVC caching mechanism.
Run a recurring pipeline experiment:
Note
This experiment consists of three steps that simply run
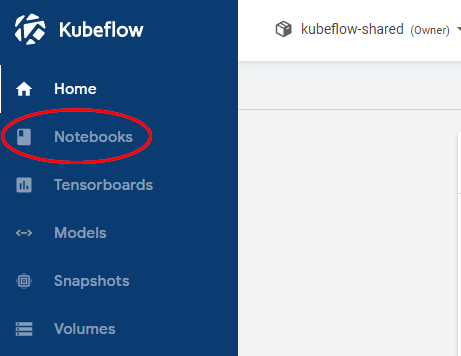
ddon local files. This will simulate an I/O intensive pipeline that will try also stress Rok’s snapshotting mechanism.Navigate to the Notebooks dashboard.
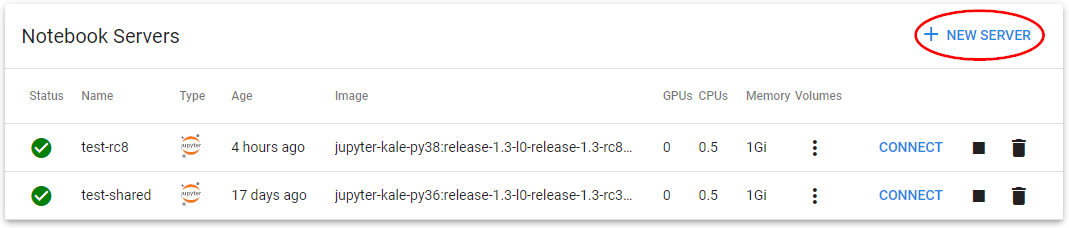
Click on NEW SERVER.
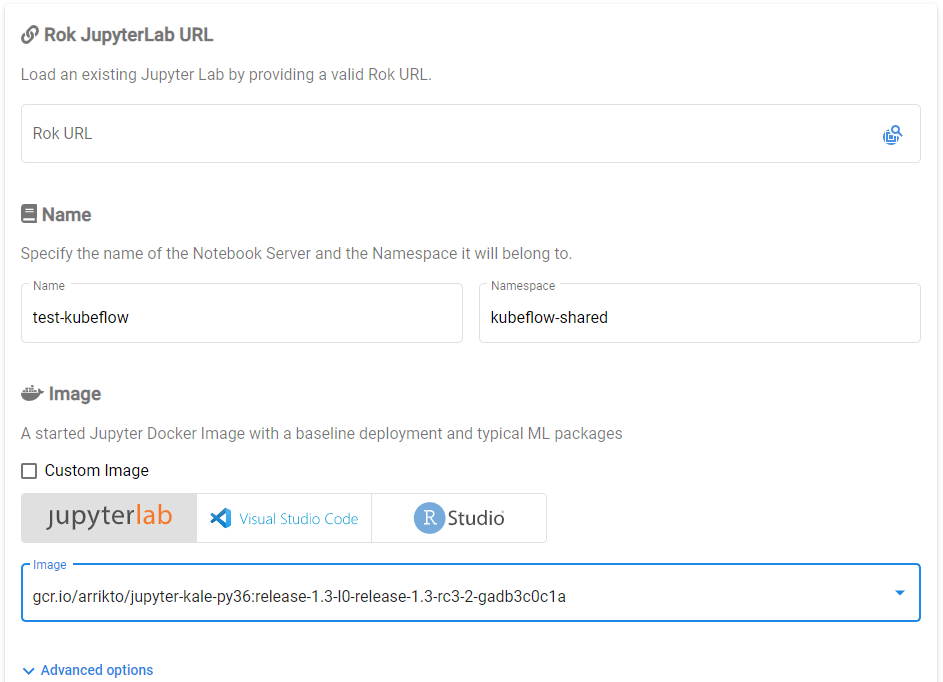
Specify a name for your new notebook and use the default configuration for everything else. Then scroll down to the bottom of the page and click Launch.
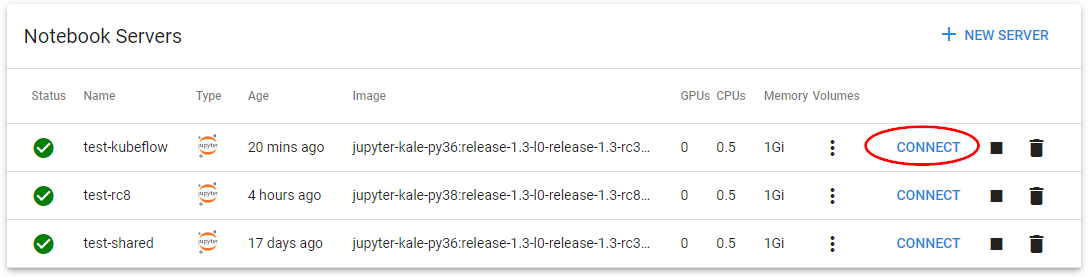
Connect to the Lab.
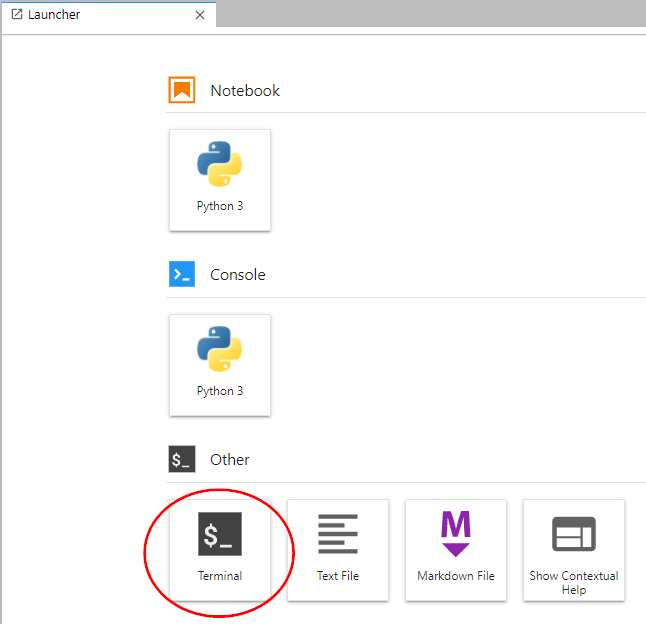
Open a terminal.
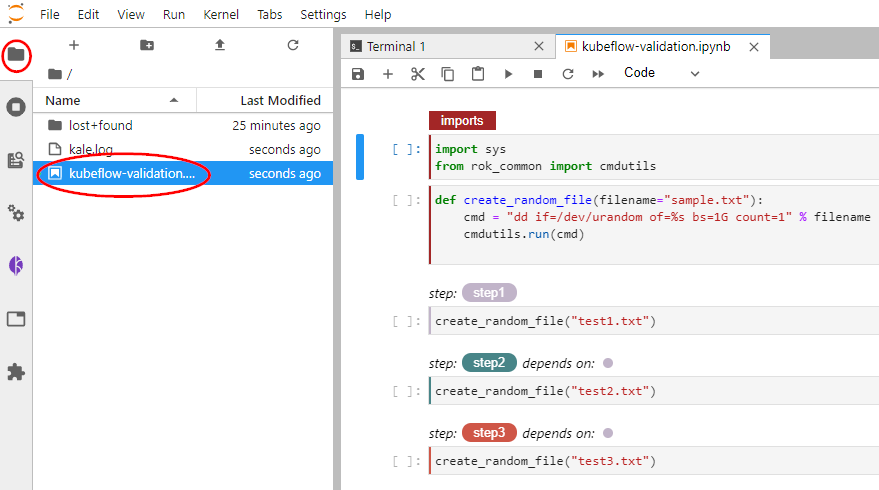
Download the
example notebook. Copy and paste the following command in the terminal:$ wget <download_root>/kubeflow-validation.ipynbClick on the downloaded file to open the notebook.
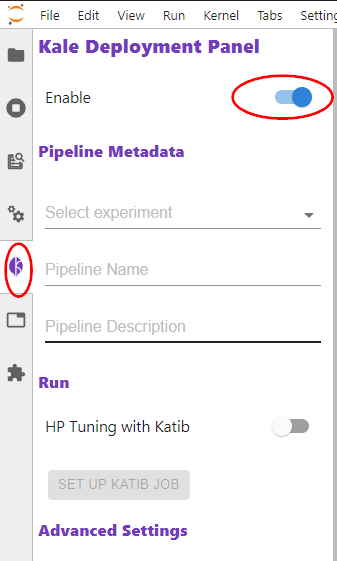
Enable Kale by clicking the corresponding icon on the left sidebar.
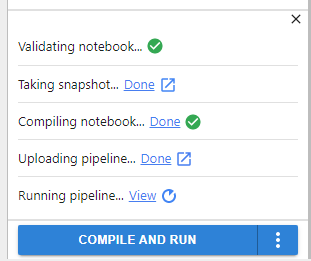
Click Compile and Run and see how Rok snapshots the notebook and how Kale creates a pipeline and starts a run.
Navigate to the Runs dashboard and click Create run.
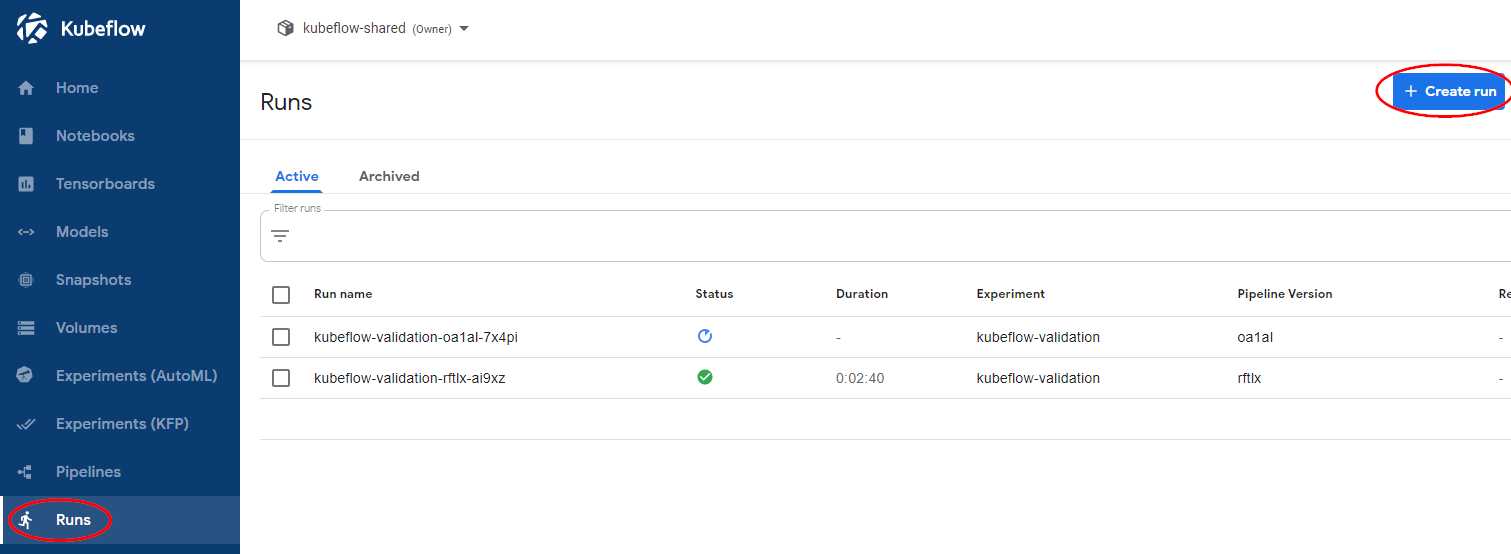
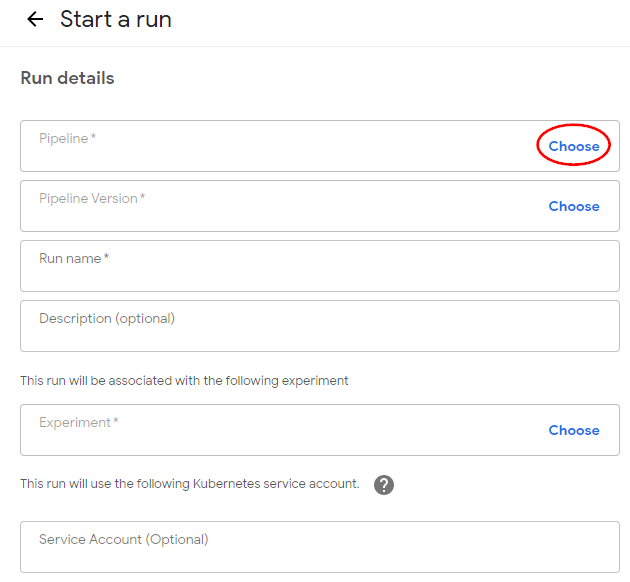
Under Start a run, in Run details:
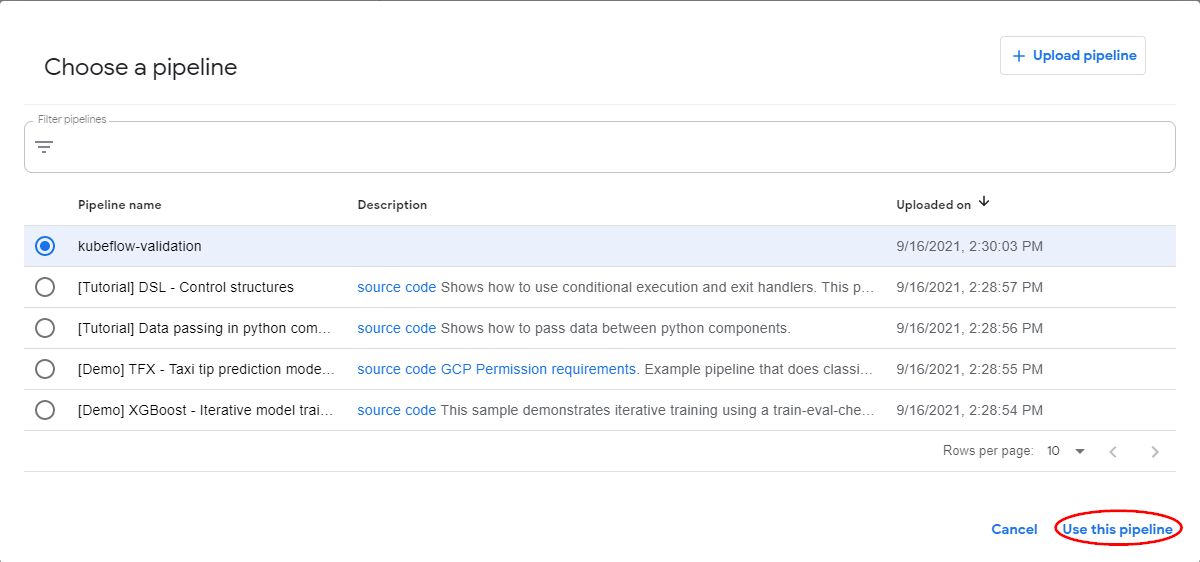
Click Choose in the Pipeline field. Then choose the pipeline that Kale just created.
Pick a name for the run.
Note
This name will be used for naming generated workflows.
Click Choose in the Experiment field. Then, choose the experiment that Kale just created.
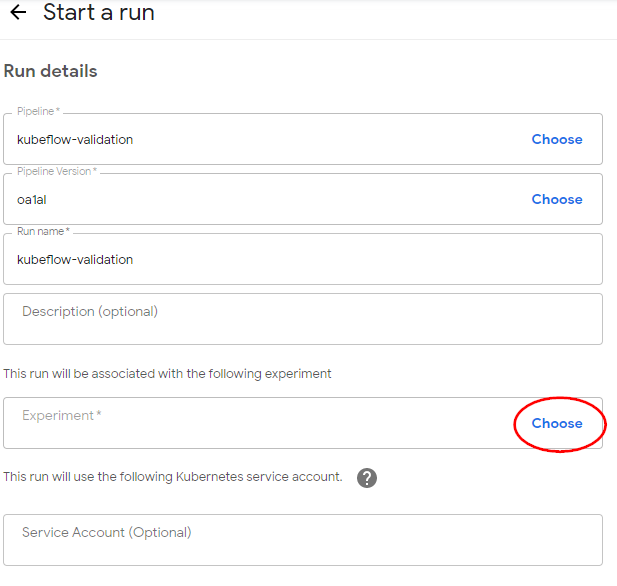
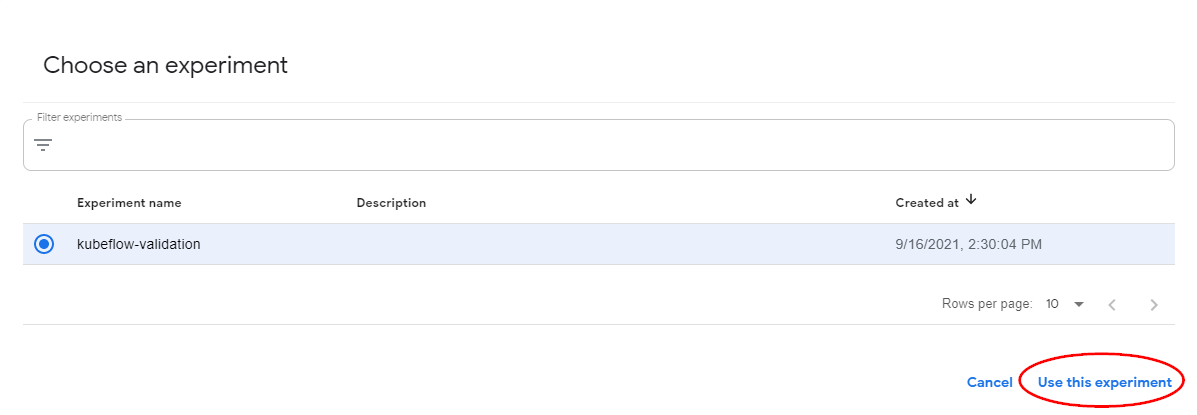
Note
Kale will use the experiment name to create Rok buckets.
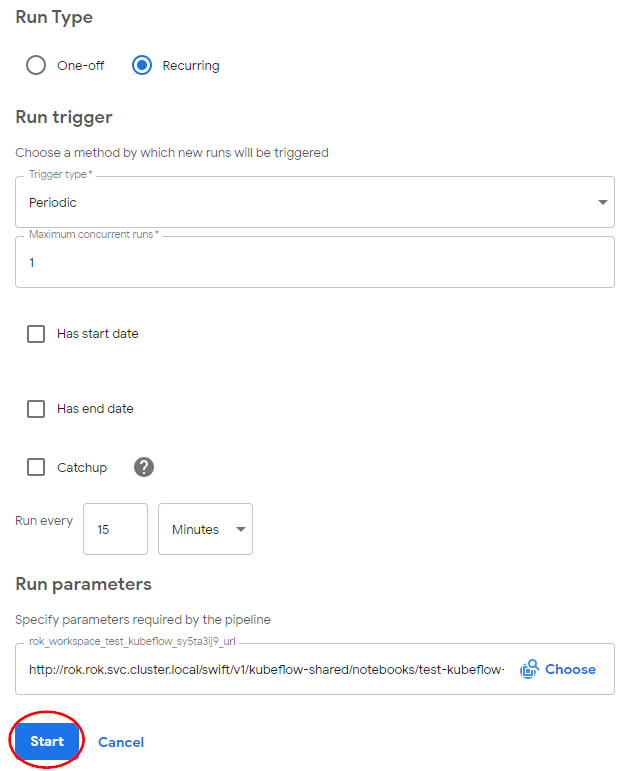
Under Start a run, in Run Type:
- For Run type choose Recurring.
- For Trigger type choose Periodic.
- Set Maximum concurrent runs to 1 to avoid having more that one parallel runs.
- Uncheck the Catchup checkbox to disable any backfilling in case the job pauses.
- Run every 15 Minutes.
- Click Start.
Go to the Recurring Runs dashboard and see how your recurring runs have started.
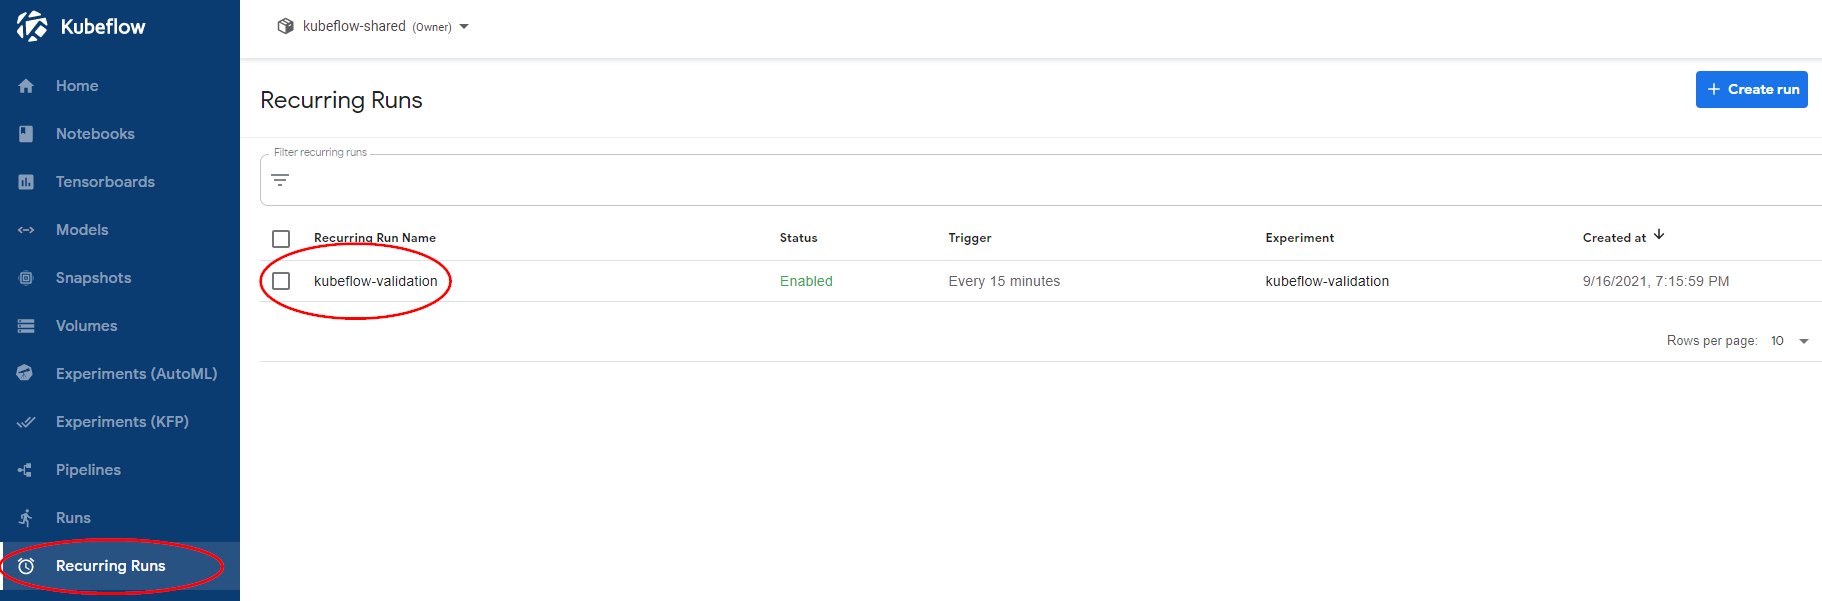
Note
The first run will be created after the given interval has passed.
Note
Running this workflow successfully validates that
- You can create recurring Kubeflow pipelines.
- You can manage your recurring jobs from the Kubeflow UI.
Summary
You have successfully tested the functionality of Kubeflow.