
Present Notebook
This guide will walk you through creating a notebook server from a Rok snapshot.
Overview
What You’ll Need
- An Arrikto EKF or MiniKF deployment.
Procedure
Choose one of the following options, depending on your desired environment.
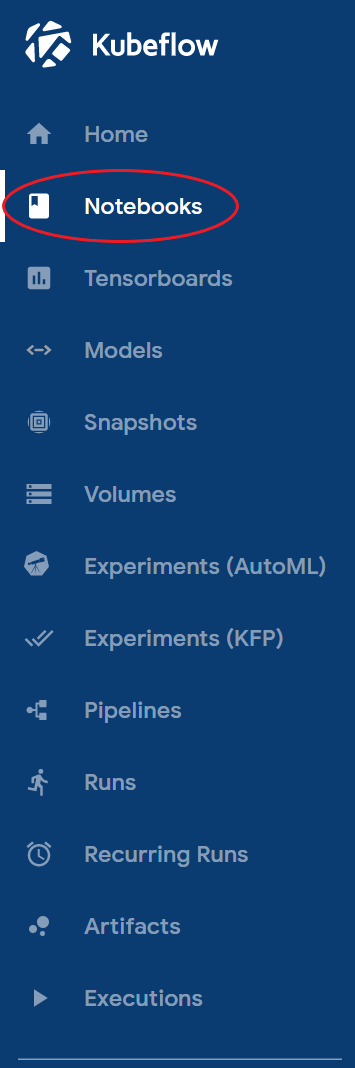
Select Notebooks from the left-side menu.
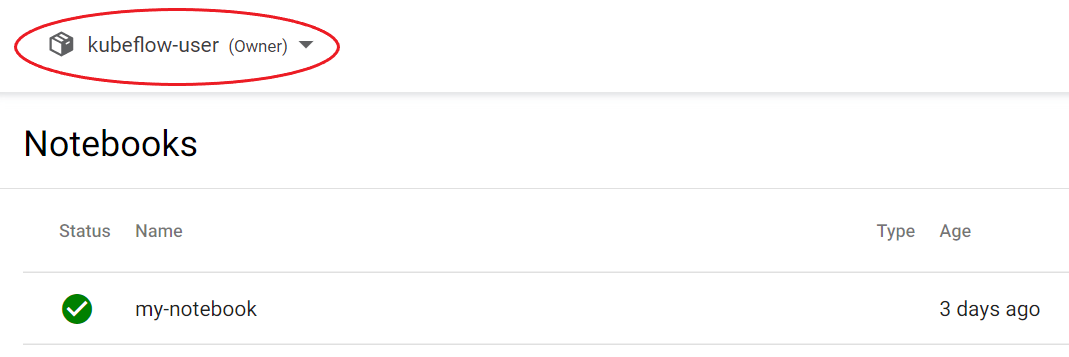
Select the namespace in which the Rok snapshot you want to present lives in using the namespace selector.
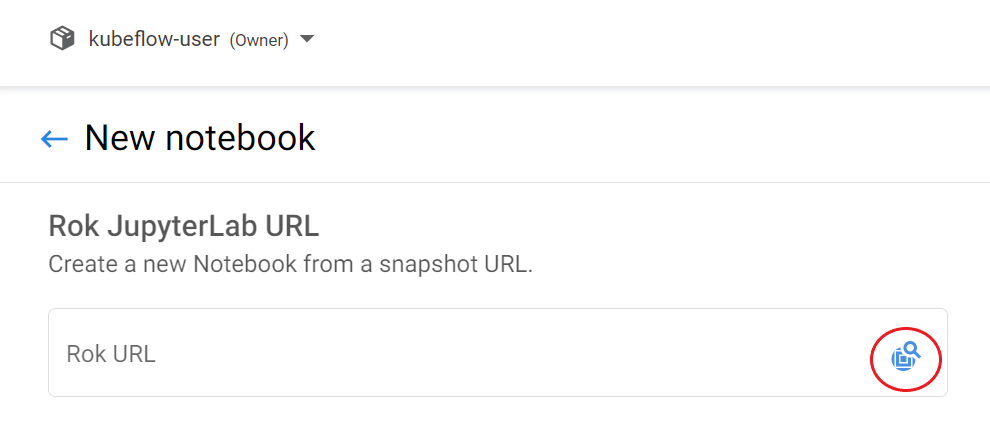
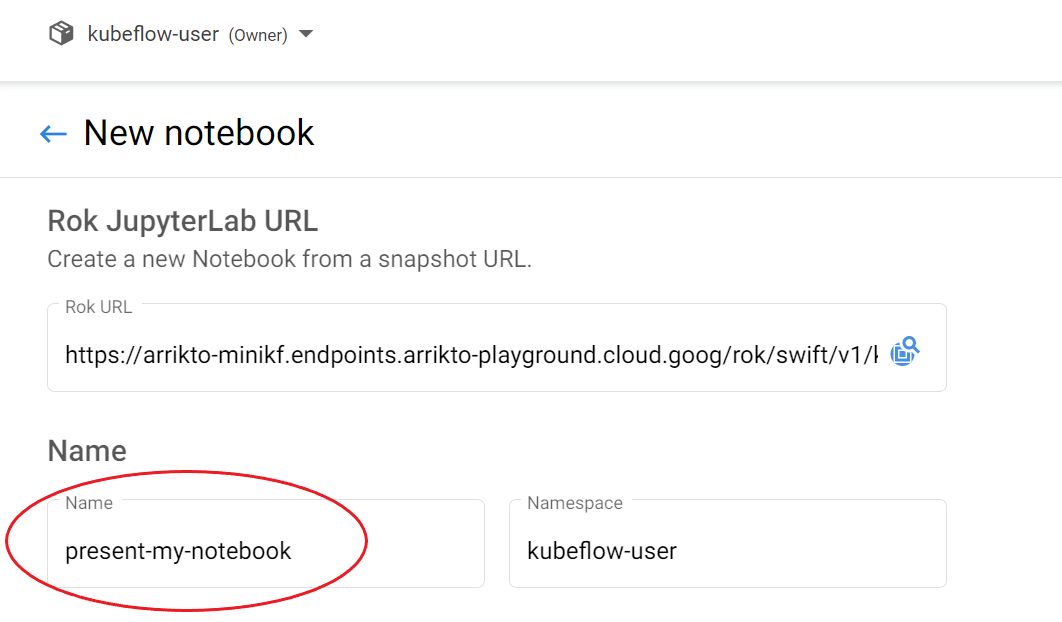
Click New Notebook.

Select the Rok file chooser.
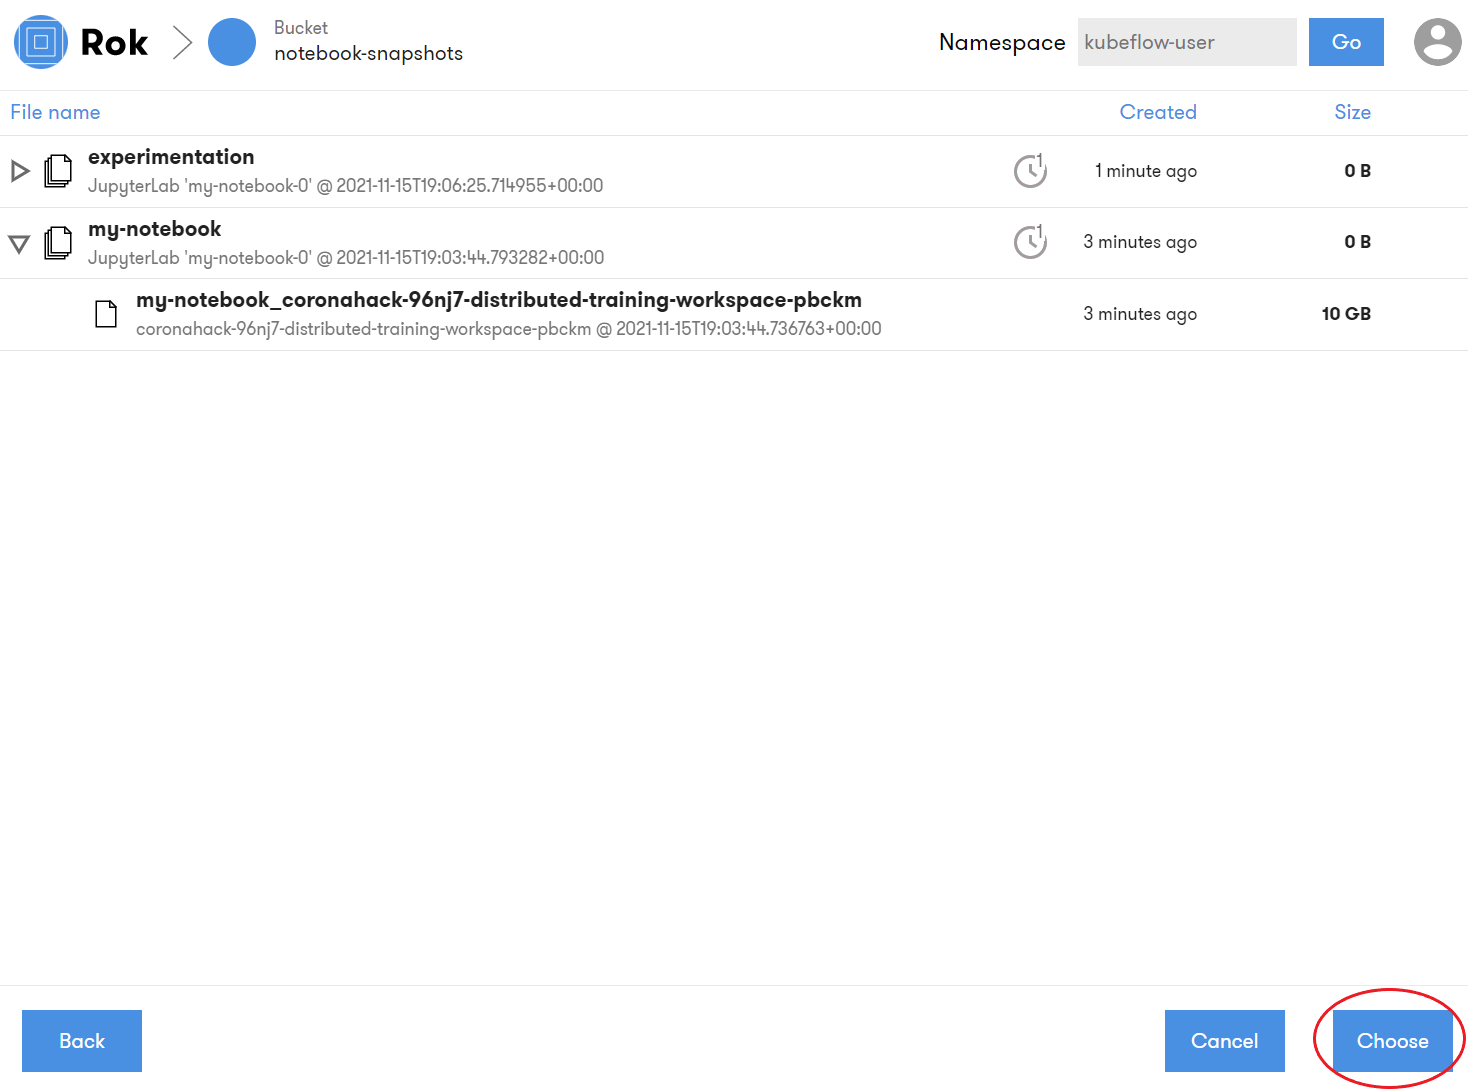
Select the notebook you wish to present, and click Choose.
Set Name to your desired name for the notebook.
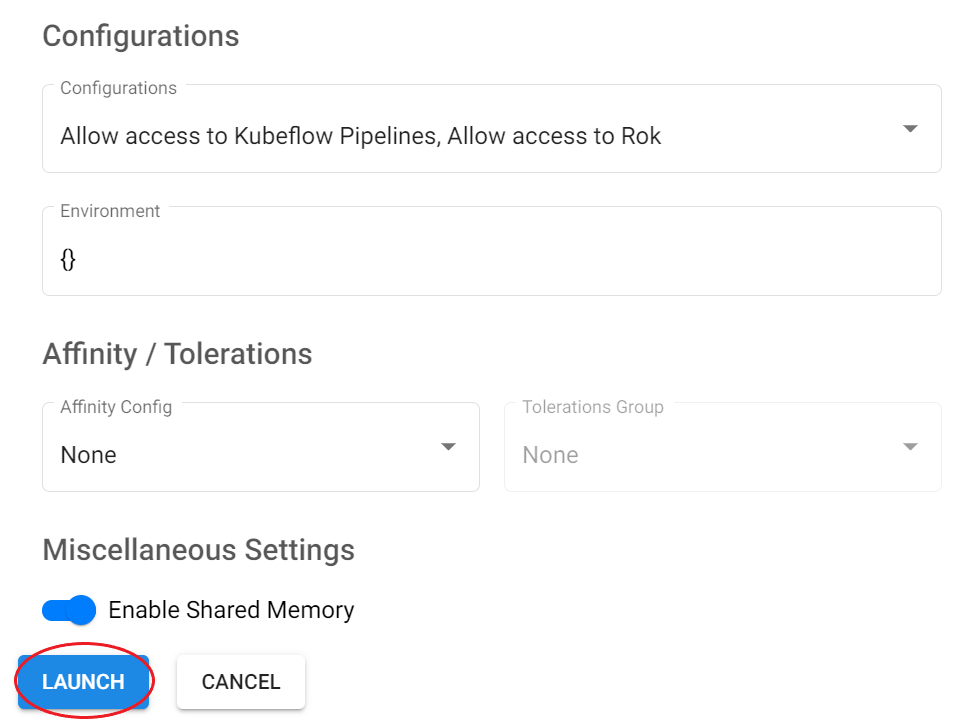
Click LAUNCH.
Select Notebooks from the left-side menu.
Select the namespace in which the Rok snapshot you want to present lives in using the namespace selector.
Note
You can only restore Rok snapshots that live in the namespace you have selected. To restore a Rok snapshot that lives in a different namespace, you need to switch to the corresponding namespace.
Pick any notebook to connect to, and click CONNECT. If you don’t have a notebook in this namespace, create one.
Start a new terminal inside the notebook.
Create a new Python file and name it
present-notebook.py:jovyan@mynotebook-0:~$ touch present-notebook.pyCopy and paste the following code snippet inside
present-notebook.py:present-notebook.py
1 # Copyright © 2021-2022 Arrikto Inc. All Rights Reserved. 2 3 """Snapshot a notebook.""" 4-33 4 5 # Uncomment the following lines to enable Rok Python client logging 6 #import logging 7 #logging.basicConfig(level=logging.INFO) 8 9 from rok_gw_client import RokClient 10 11 NAMESPACE = "mynamespace" 12 NOTEBOOK_NAME = "mynotebook" 13 BUCKET_NAME = "mybucket" 14 OBJECT = "myobject" 15 VERSION = None 16 DEFAULTS = { 17 "GPUS": { 18 "num": "none", 19 "vendor": "", 20 }, 21 "PULL_POLICY": "IfNotPresent", 22 "TOLERATIONS": [], 23 "AFFINITY": {}, 24 "CONFIGURATIONS": ["access-rok", "access-ml-pipeline"], 25 "ENVIRONMENT": [], 26 "SHM": True, 27 } 28 29 rok_client = RokClient(account=NAMESPACE) 30 31 nb = rok_client.present_notebook(bucket=BUCKET_NAME, object=OBJECT, 32 version=VERSION, notebook_name=NOTEBOOK_NAME, 33 params=DEFAULTS) 34 35 print("Successfully created Notebook and underlying PVCs: %s/%s" % 36 (NAMESPACE, nb["metadata"]["name"])) Update the following fields in the file:
Set NAMESPACE to the namespace the Rok snapshot lives in.
Set NOTEBOOK_NAME to the name of the notebook you are about to create.
Set BUCKET_NAME to the bucket the Rok snapshot lives in.
Set OBJECT to the name of the Rok snapshot from which you wish to create a new notebook.
Set VERSION to the specific snapshot version of the notebook you wish to present. By default the latest version will be used. Set VERSION to
Noneto use the latest version of the snapshot.Set DEFAULTS to the default values that you will use for the different parameters of the notebook.
- Set GPUS to the number of GPUs and the corresponding vendor.
- Set PULL_POLICY to the image pull policy of the notebook Pod.
- Set TOLERATIONS to the tolerations of the notebook Pod.
- Set AFFINITY to the affinity of the notebook Pod.
- Set CONFIGURATIONS to the list of configurations that you wish to apply to the notebook.
- Set ENVIRONMENT to the list of environment variables that you wish to add to the notebook’s Pod environment.
- Set SHM to the corresponding Boolean value, depending on whether you wish your new notebook to have a shared access memory volume.
present-notebook-updated.py
1 # Copyright © 2021-2022 Arrikto Inc. All Rights Reserved. 2 3 """Snapshot a notebook.""" 4-7 4 5 # Uncomment the following lines to enable Rok Python client logging 6 #import logging 7 #logging.basicConfig(level=logging.INFO) 8 9 from rok_gw_client import RokClient 10 11 - NAMESPACE = "mynamespace" 12 - NOTEBOOK_NAME = "mynotebook" 13 - BUCKET_NAME = "mybucket" 14 - OBJECT = "myobject" 15 + NAMESPACE = "kubeflow-user" 16 + NOTEBOOK_NAME = "presented-notebook" 17 + BUCKET_NAME = "notebooks" 18 + OBJECT = "jwa-test-0" 19 VERSION = None 20 DEFAULTS = { 21 "GPUS": { 22 - "num": "none", 23 - "vendor": "", 24 + "num": "1", 25 + "vendor": "nvidia.com/gpu", 26 }, 27 - "PULL_POLICY": "IfNotPresent", 28 + "PULL_POLICY": "Always", 29 "TOLERATIONS": [], 30 "AFFINITY": {}, 31 "CONFIGURATIONS": ["access-rok", "access-ml-pipeline"], 32 - "ENVIRONMENT": [], 33 + "ENVIRONMENT": [{"name": "APP_LANG", 34 + "value": "English"}], 35 "SHM": True, 36 } 37 38-42 38 rok_client = RokClient(account=NAMESPACE) 39 40 nb = rok_client.present_notebook(bucket=BUCKET_NAME, object=OBJECT, 41 version=VERSION, notebook_name=NOTEBOOK_NAME, 42 params=DEFAULTS) 43 44 print("Successfully created Notebook and underlying PVCs: %s/%s" % 45 (NAMESPACE, nb["metadata"]["name"]))
Run the code snippet using Python 3:
jovyan@mynotebook-0:~$ python3 present-notebook.py Successfully created Notebook and underlying PVCs: kubeflow-user/presented-notebookNote
The Rok Python client support logging extensively. You can setup logging <https://docs.python.org/3/howto/logging.html> to enable more verbose logging output in your program.