
Publish Bucket
This section will guide you through publishing a bucket from a Rok cluster to a Rok Registry.
Overview
What You’ll Need
- A working Rok and Rok Registry deployment.
- A Rok bucket that you want to publish.
Procedure
Log in to Rok using your credentials.
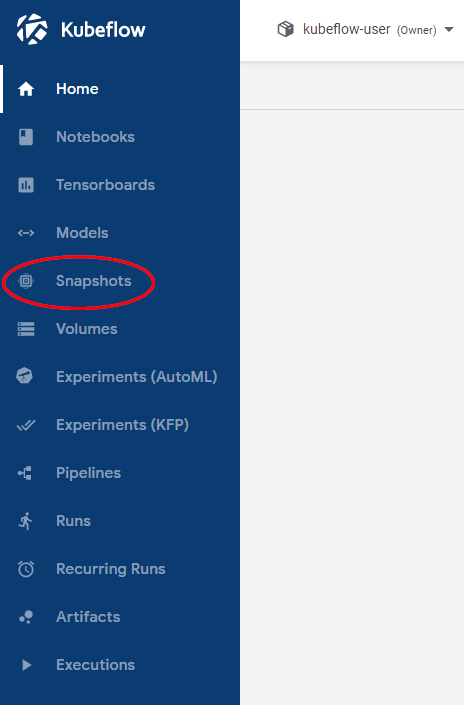
Select Snapshots from the left-side menu.
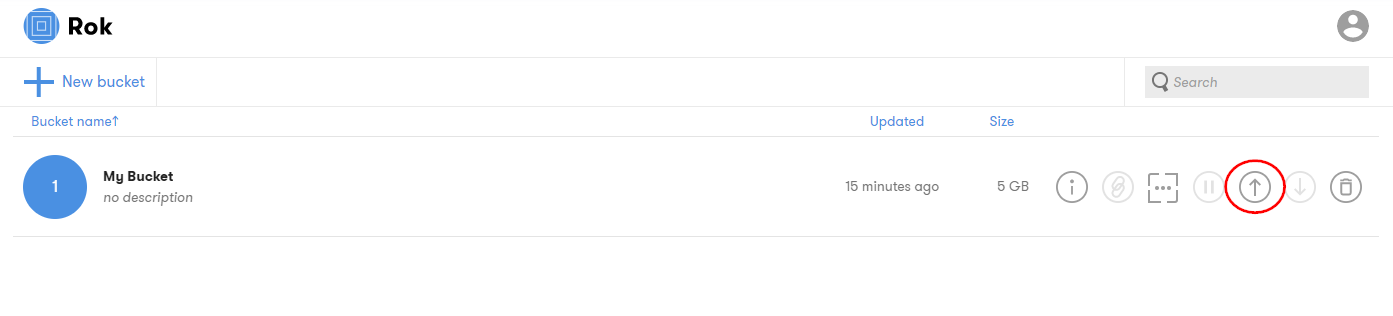
Find the bucket you want to publish in your bucket list and click on the Publish button (upward pointing arrow).
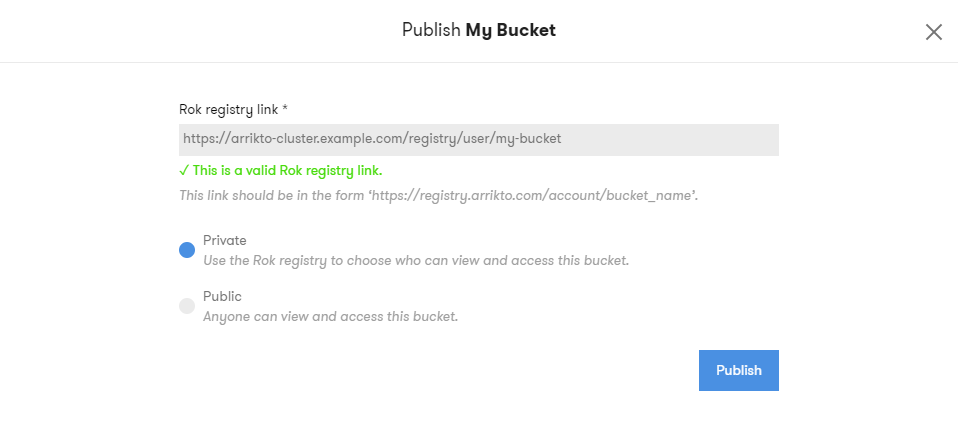
Fill in the URL of your registry followed by the user and the bucket name under Rok registry link. Choose whether you want your bucket to be private or public. Then click Publish.
Important
- The URL must have the format
https://<REGISTRY>/<USER>/<BUCKET-NAME>. - The user name is displayed in the Rok Registry UI when you login.
- The bucket name can contain only letters, numbers, dashes and underscores. The first character must be a letter.
- The bucket will be created, if it doesn’t exist.
- The URL must have the format
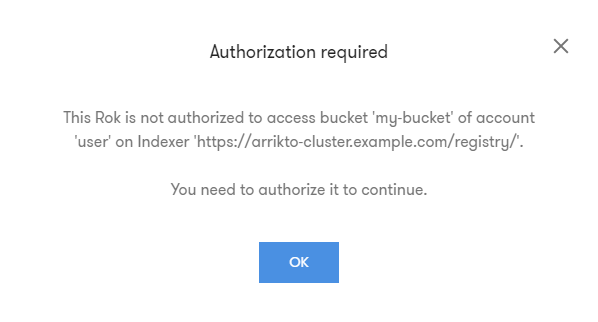
If your Rok cluster is not authorized to create that bucket in the registry, you need to follow these extra steps:
Authorize it by clicking OK.
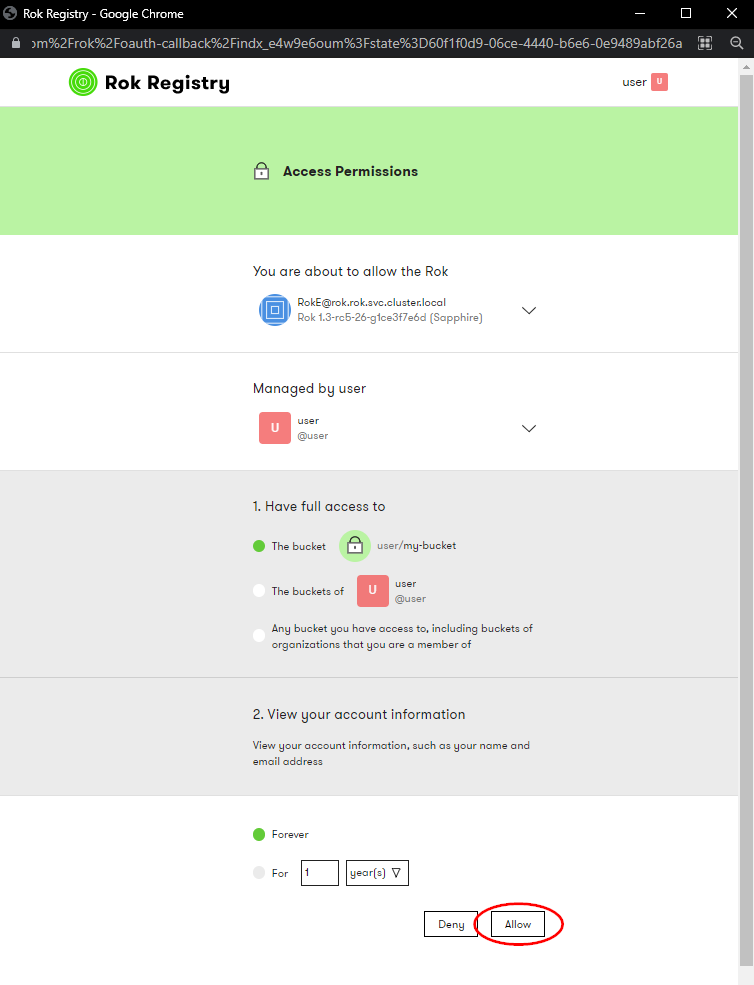
In the pop-up window choose whether you want to allow access to one or more buckets and for how long, then click Allow.
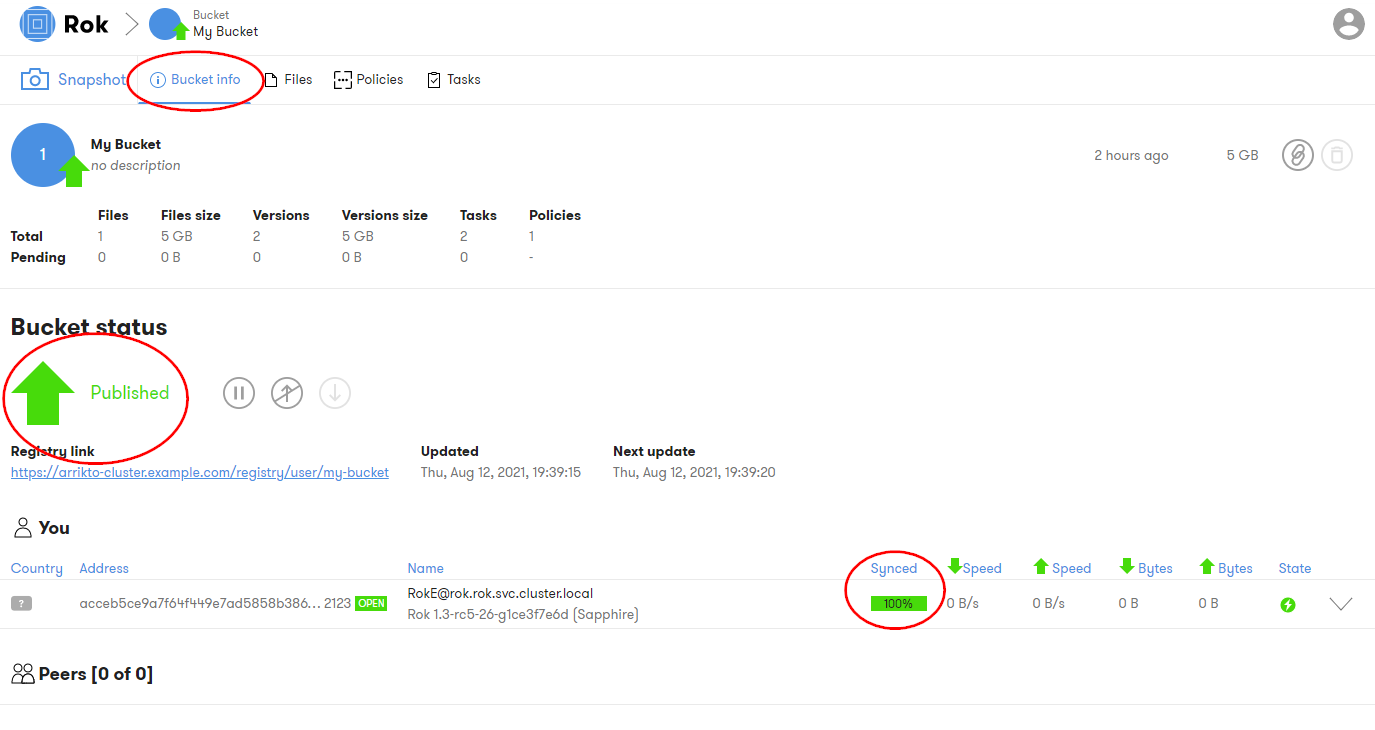
Ensure that you published the bucket. A green upward arrow will appear under the bucket name and the Publish button will be replaced by the Unpublish button.

Verify
Click on your bucket, go to Bucket info and verify that your bucket is Published and it is syncing.
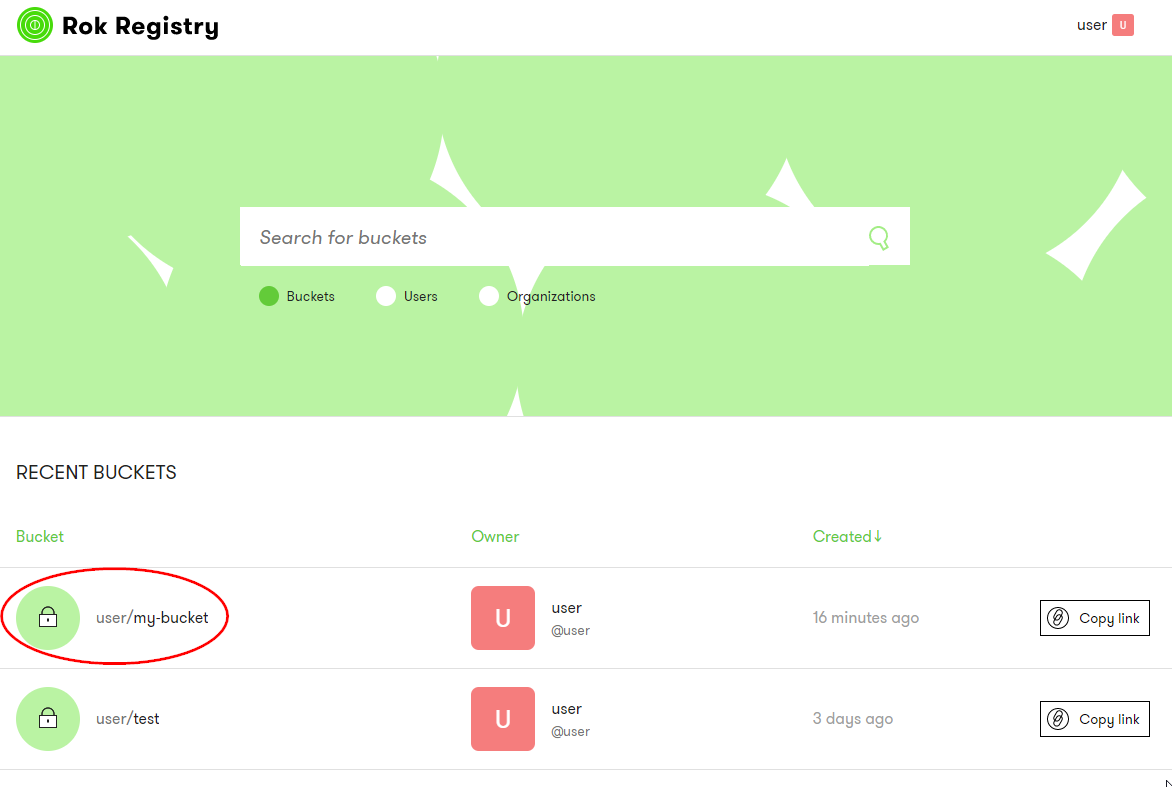
Log in to your Rok registry and verify that you can see the bucket you just published.
Summary
You have successfully published a bucket to a Rok Registry.